{ Happy Sewing } … Hand Warmers
Searching for an idea for last minute teachers’ gifts, hostess gifts or stocking stuffers for a loved one?
I was doing just that yesterday when I came upon this lovely post for scented sachets. Alas, I had no easy access to a bushel of lavender on a cold snowy day, but I had the idea of making them into hand warmers … exactly what one wants on such a day. In place of lavender buds, I filled mine with rice (I started with sushi rice, and am now onto basmati, as I have gone overboard with stacks of these pretty little packets.
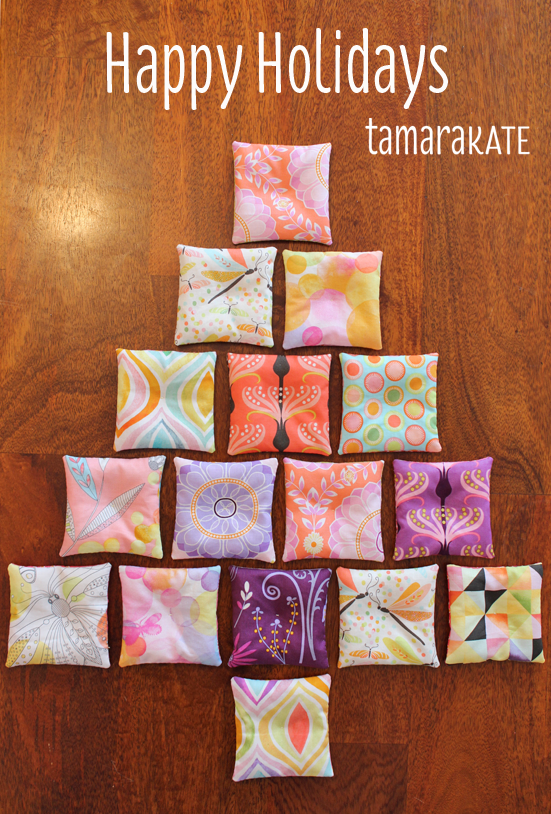
A simple, quick, pretty gift idea that uses fabric scraps you have lying around your studio. A wonderful plus is that they can also be stuck in the freezer to be used as eye packs to refresh tired peepers. Should you feel the urge to whip up a few of your own, read on:
What I used:
– For each warmer you will need 2 pieces of 4″ x 4″ fabric. I chose a number of co-ordinating patterned fabrics from Flight Patterns and Helen’s Garden for the tops and more simple, yet colourful, fabrics for the backs (Parterre in all its colour options worked wonderfully)!
– ¼ cup rice.
– co-ordinazting thread for stitching together & for the little tuck in the centre of each warmer.
What I did:
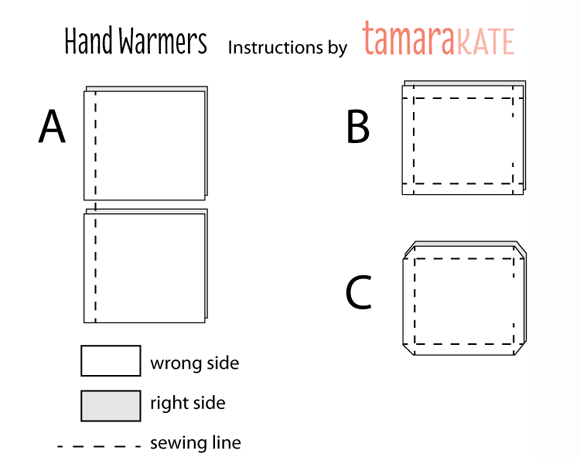
As I made a gazillion of them, I did it production-style. A Match your fronts to backs, right sides together. With a ¼” seam allowance, sew along one edge and, without raising your machine’s presser foot, continue onto the next warmer, and the next until they all have one edge sewn. Clip all those extra chains of sewing between each & start again with another side, then another. You should now have 3 edges sewn shut on each warmer. B For the final edge, start sewing about 1″, then backstitch to secure your sewing. Raise the presser foot, skip about 1½”, lower foot and sew to the end (remember to backstitch both ends so your stitches don’t get pulled out when turning your warmer right side out).
C Clip all your corners diagonally, being careful not to clip any stitching. Turn warmers right side out, using a pin to get the corners as sharp as possible.
Use a funnel to fill with rice. Using a slip stitch, close your opening, then make a knot right at the fabric surface, insert needle just beside the knot & exit about ½” further along. Gently pull your thread until the knot pops through to the inside of your warmer, thus nicely hiding it. Cut your thread where it exits from the fabric.
Last step is the stitched tuck in the centre. Measure or eyeball the centre of the square. Starting on the back side, insert needle with unknotted thread through to the front, leaving an end 3″ or 4″ long at the back. Make a stitch about 1/8″ long, and bring your thread through to the back. Repeat this stitch 3 or 4 times. Pull both ends of the thread taut, then make a double knot. Insert both loose ends into the warmer with a needle, coming out ½” away. Clip ends at fabric surface.
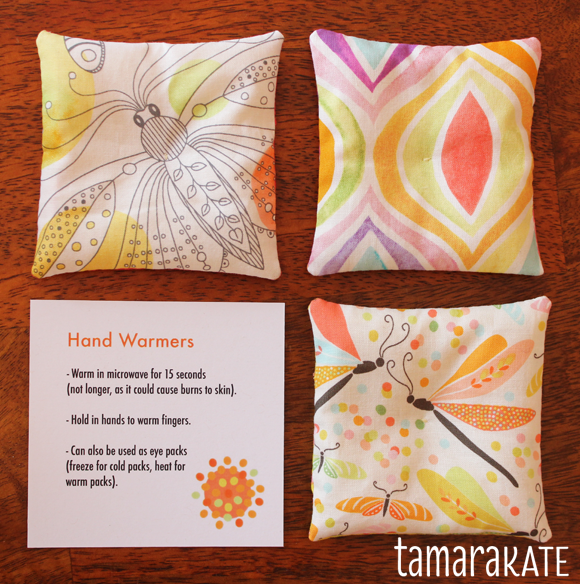
I even made a little instruction card to go with them that you can download to print here:
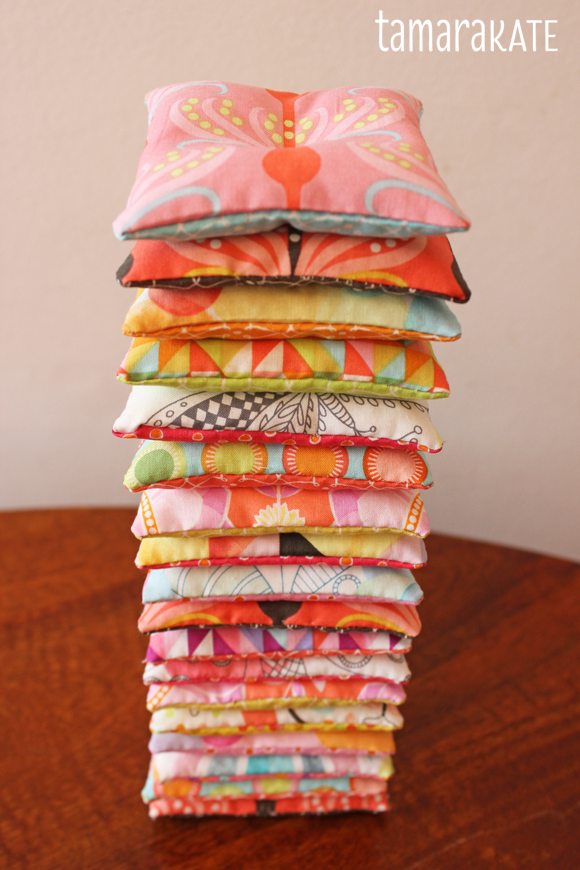
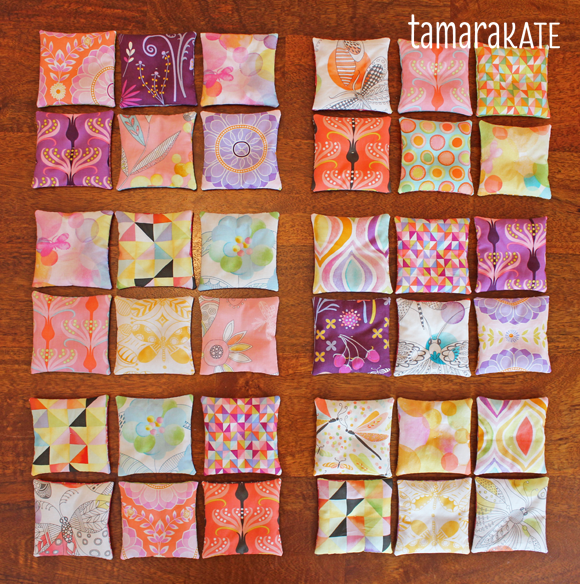
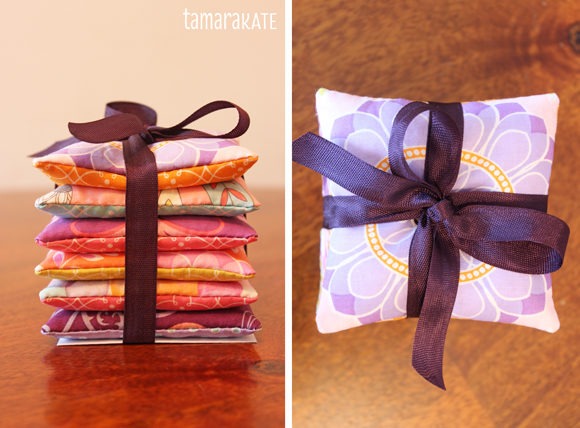
I chose to go with sets of 6 that co-ordinate well together. Place your instruction card at the bottom, stack 6 lovely warmers atop each other, tie with a pretty ribbon, and voila! Pretty present to go!



24 Comments
Josée Carrier
December 19, 2013Both are great ideas! Yours are really pretty in your lovely fabrics.
Tamara
December 19, 2013Thanks Josee! I loved making them. The kids even got in on the action, helping with rice filling.
Ellen McCarthy
February 16, 2014I just found this pattern and it will work great for Christmas gifts in 2014. I have a suggestion on the thread for the center. Why not use embroidery thread which come in some beautiful colors and make a little tuft like you would do in a quilt.
Tamara
February 17, 2014Good idea, Ellen. The regular thread does seem to disappear.
Fran
December 30, 2013In days gone by, they would carry hot baked potatoes in their pockets on sleigh rides, etc. These pretty little handwarmers are the modern version. I’ve always made rice bags for girlfriends, but these little handwarmers are going to be the next big thing from my little sewing room! Thank you!
Tamara
January 1, 2014So happy to have inspired some project making, Fran. Have fun!
kait
January 9, 2014Love these! Great idea for a gift esp during this winter chill!
Tamara
January 9, 2014Brrrrr… Thanks Kait!
Janice
January 12, 2014What a wonderful idea and so pretty. I will get started on next year.
Thanks so much. I am sure yours were very much appreciated.
Maria H
January 12, 2014Wonderful idea! Thank you for a great tutorial.
Windowpanes of Helen’s Garden fabrics sewn into lap quilt, with matching pillows
February 15, 2014[…] loved this collection of Tamara Kate’s Helen’s Garden fabrics showcased here, and originally thought about making hand warmers too, but it just doesn’t usually get cold […]
Tamara
February 17, 2014Lovely work, Andrea. Thanks for sharing. I love the quilt!
Ellen McCarthy
February 16, 2014What did you use for the directional cards? Any hints on what we should use to print them out. Card stock paper?
Tamara
February 17, 2014Hi Ellen, I used 8.5 x 11″ card stock, and cut them down once printed. Regular paper would be too flimsy.
Barbara
February 27, 2014I just made some and put a piece of elastic on one side. It helps keep the bag in place while it is warming the fingers.
Donna
May 3, 2014Have you ever tried the rice and the lavender together as a hand warmer?
Tamara
May 5, 2014I haven’t, Donna. Please let me know how it works if you give it a try.
Donna
May 5, 2014I love lavender. I will let you know if I give it a try.
Boni
November 23, 2015Hi there. Im looking to make these but Im just wondering what kind of rice you recommend using? Thanks for such a detailed and easy instructional!
Tamara
November 25, 2015Hi Boni, Sorry for the delay in responding. I am pretty certain any rice will work, as they should all retain heat the same way. I used basic white rice, though. Happy sewing!
Boni
November 26, 2015No that’s quite alright! I know how hectic life can be! 🙂 … And that’s perfect. Last year for Christmas presents I did up neck wraps with long grain white rice but for some reason it had a funky smell when heated, so thats why I wondered.
Also, do you only use one layer of material on either side? Or line it with something?
Tamara
November 26, 2015I just used one layer of cotton fabric, but you could certainly use cozier fabrics too.
Pat
December 8, 2015Great idea!
Here’s a little tip to achieve nice corners…stop stitching just before you get to the corner, take one or two tiny stitches on a diagonal, and then stitch along the next side. Since sewing is done “inside-out” the result is the opposite of what you’d expect – a nice, sharp corner! This works too, for collar points, cushion covers, or any other item you make that has corners.
Tamara
December 9, 2015I’ve never heard of that, but I will definitely be trying it. Thanks for the tip, Pat.