{ Happy Sewing } Origami Oasis Bento Bags
While Origami Oasis certainly was designed with children in mind, I wanted to share a project with you today, The Bento Bag, that really plays on the Origami theme, and that I created with a bit more of a grownup user in mind, though kids can certainly use them as well.
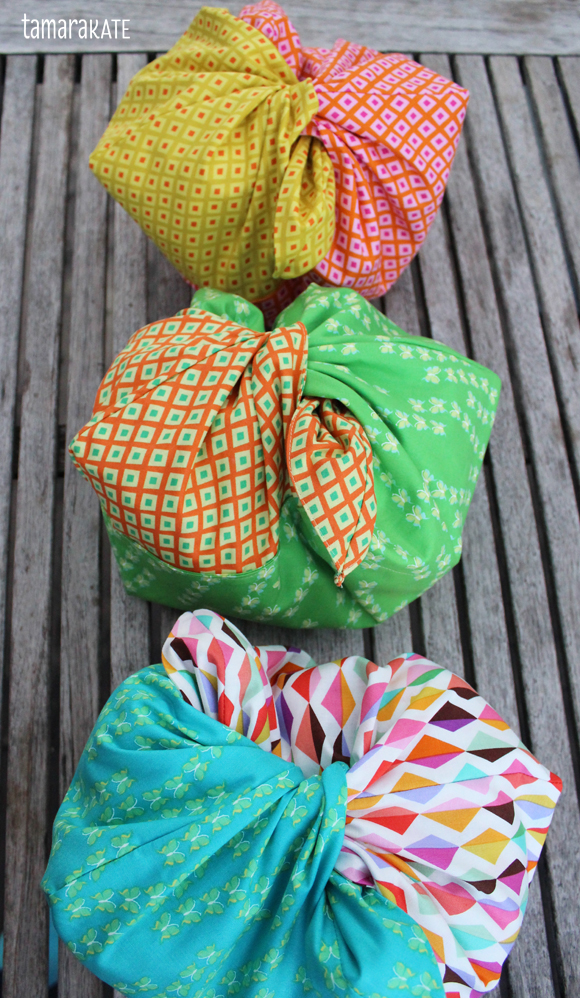
These Japanese-inspired bags are a handy, pretty, environmentally-friendly alternative for packing a snack, a lunch, a small on-the-go sewing or knitting project or, well, just about anything. They are great for organizing smaller items within a larger bag (think of bringing a few along on market runs to use instead of plastic bags) or suitcase (swimsuits or undies), or as an unexpected, reusable gift bag. They can be made in a variety of sizes to suit the right need.
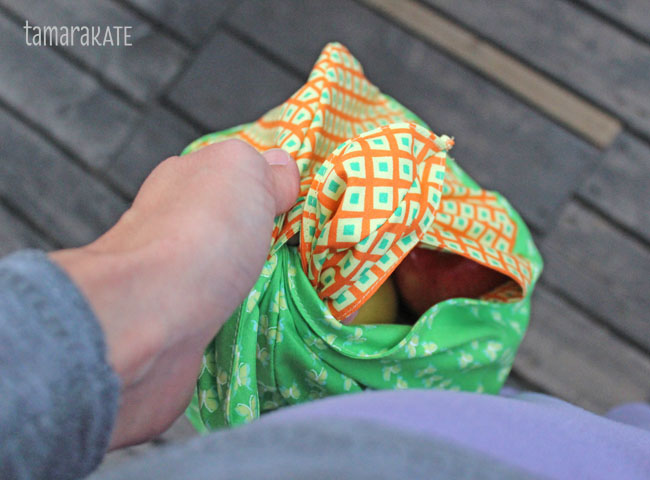
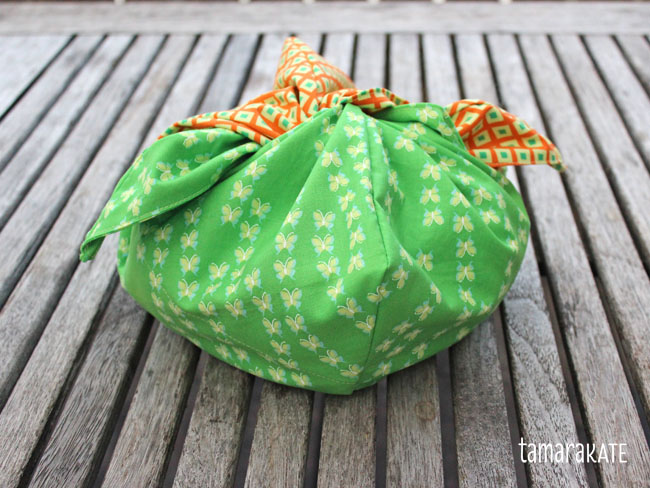
The single knot doesn’t look that secure, but trust me, it nestles in the hand in such a way that it holds a bundle of apples just perfectly without slipping and there is plenty of room in the ties to create a double knot if one wishes.
I love the simplicity of their shape. While I recall seeing lovely linen ones in the past, I thought they would be pretty in two contrasting or complimentary fabrics, with a softer drape to them. But have no fear, these are made with double layers of fabric so that they are firstly, strong and secondly, they are well finished with no wrong sides of fabric showing on the inside or the tie tops. Should you wish to have something with a slightly stiffer body, a bit of interfacing on the wrong sides prior to stitching will do the job perfectly.
Whichever way you look at them, they make a pretty package.
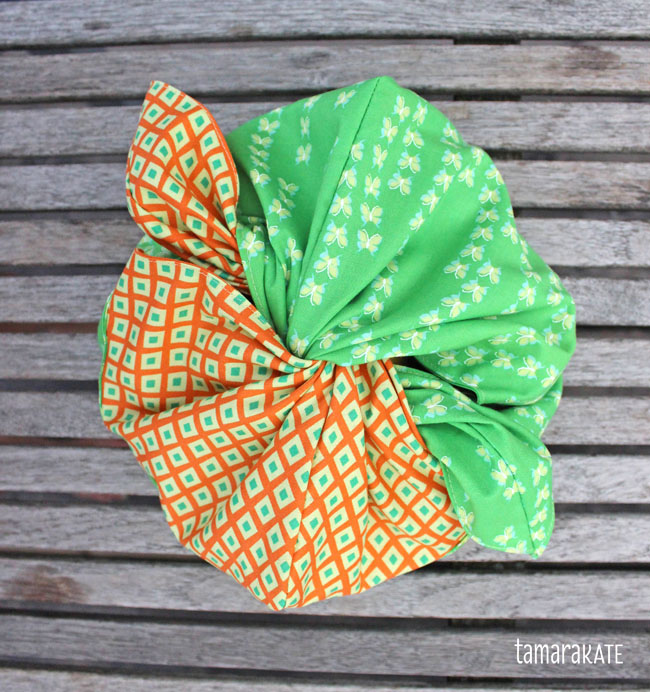
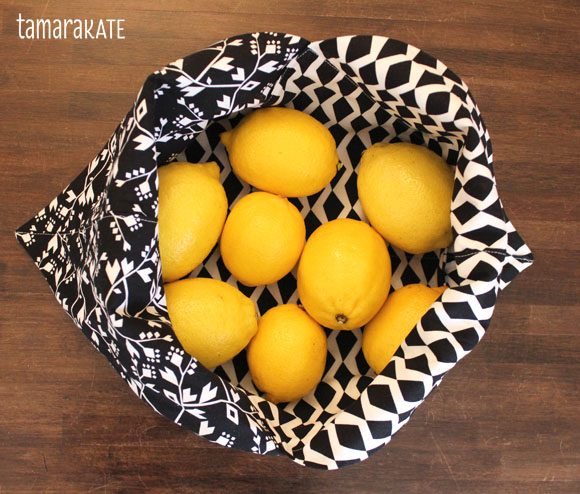
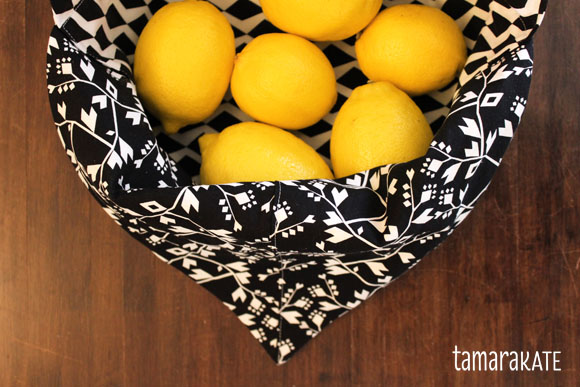
With a minor alteration, they can also be made with a flat, boxed-corner bottom that would sit better on the counter as a bowl. So you could go shopping…
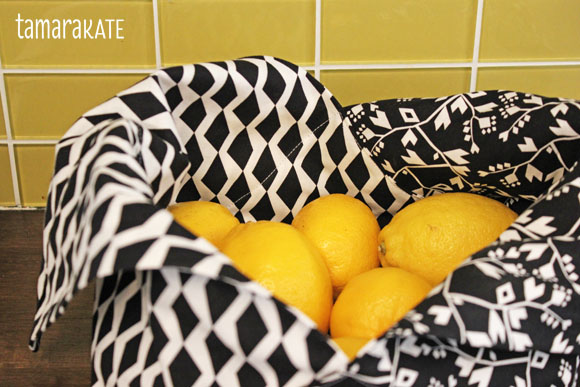
open your bundle…
and leave it sitting prettily in your kitchen.
You’d like to whip up a few yourself? No problem! Here’s a tutorial.
What I used:
– a yard each of two pieces of fabric (you will have leftovers). This will make bags the size you see above that will hold about 8 apples or lemons, but you can make them any size you wish.
– sewing thread, acrylic ruler, cutting mat and rotary cutter.
What I did:
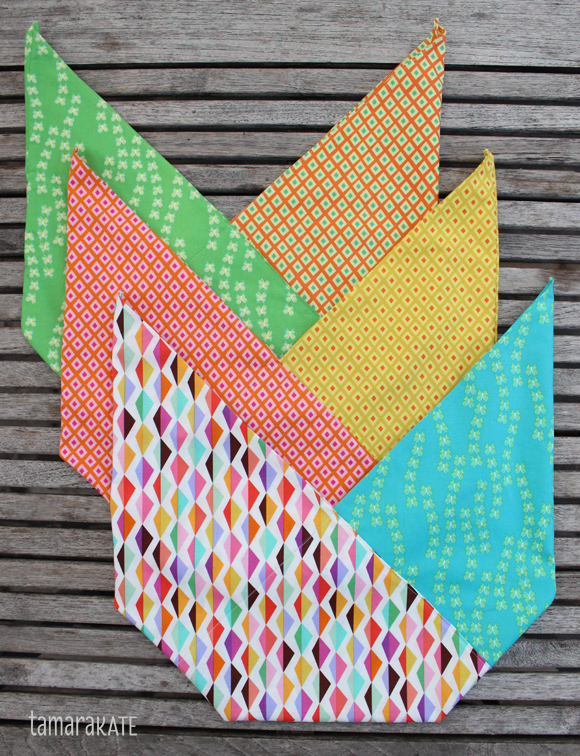
Refer to this Cutting & Folding Guide for the following instructions.
#1 – From the first piece of fabric, cut a perfect square 32″ x 32″. With right sides together, fold the fabric in half. (If your fabric is directional, have your motifs running the direction of the 32″ arrow in the guide)
#2 – Find the exact centre along the edge opposite the fold. Cut a 45 degree angle down from the centre point to the bottom corners at the fold line.
#3 – With a ¼” seam allowance, stitch along the two edges you just cut. Leave a 4″ opening along one side, about 1″ from the centre point. Clip all the corners to allow for sharp points when turned. Turn the triangle right side out through that 4″ opening, using a pin to gently help pull the corners to sharp points (there is no need to close the 4″ opening here). Press. Repeat with other piece of fabric.
#4 – Lay the 2 triangles on top of each other as in the guide, making sure the centre corners are parallel, as well as the top 2 points and the bottom points. Lightly draw a line (with an erasable fabric marker or chalk) across the centre, as well as just inside the edge of the hidden triangle edges so that you can topstitch as shown in the guide. Topstitch across the centre and an eighth inch from the edges as indicated.
* Choose one of the following:
#5a – Regular corners – Fold the pieces in half, matching the top points. For both bottom corners, measure in 4″ vertically and horizontally from the corners. Connect these points and mark this line lightly. Backstitching at both ends, stitch along the line of the angled corners. Leaving a ¼” seam allowance, cut the extra corner fabric off. Turn the bag wrong side out and press the angled corners sharply. Now you will create a french seam to hide the raw edges. Along the angled corners, sew a line of stitching just beyond where you can feel the raw edges of fabric on the inside, so that when you turn the bag right side out, the edges will be enclosed in the seam. Nice & clean! Still on the wrong side, sew down both long sides (sewing a scant eighth inch from the edge).
All done!
OR
#5b – Boxed corners – Fold the pieces in half, matching the top points. Backstitching at both ends, sew straight up both sides a scant eighth inch from the edge. Press these seams flat. Open the bottom of the bag and fold it flat with one of the side seams in the centre. Draw a line perpendicular to the seam about 3″ from the bottom corner. Sew on this line.Repeat with other corner. Leaving a ¼” seam allowance, cut the extra fabric from the corners. Turn the bag wrong side out, and press the angled corners sharply. Now you will create a french seam to hide the raw edges. Along the angled corners, sew a line of stitching just beyond where you can feel the raw edges of fabric on the inside, so that when you turn the bag right side out, the edges will be enclosed in the seam. Nice & clean!
All done!





19 Comments
Josée Carrier
October 15, 2014These are great Tamara! I particularly like it in the B&W prints. I know someone who would like a Bento bag. My sister just love everything Japanese and particularly Furoshikis. So, I might try to do her a bento bag like this. Thanks for the tutorial!
PatternPile.com
November 16, 2014This is a nice tutorial, and I love your dahlia medallion fabric!!! Stunning.
France Nadeau
November 21, 2014How pretty! And useful too! I think I will try my hand at this soon. That’s a great tutorial to share before Christmas. Thank you! (Visiting from near Montréal through Blogathon Canada.) Pinned in my “Couture” Board.
Tamara
November 22, 2014Thank you ladies for your generous comments! I hope you enjoy whipping some up.
Agnes Wong
January 15, 2015How did I miss this fantastic tutorial! I am really looking forward to trying this out 🙂
Tamara
January 15, 2015When you can negotiate your craft table back… I’d love to know how it turns out, Agnes!
Marty Miller
June 21, 2015I’m so glad I found this pattern! I’m using it to make project bags for friends who knit. Thanks so much for posting it!
Tamara
June 22, 2015Great idea, Marty! I just might borrow that idea for a few knitting family members.
Roopa
June 26, 2015This is a good tutorial…
Mila
August 23, 2016You mentioned that this bag can hold a certain amount of apples or lemons. Could you give me an idea of the size in inches? I love it and want to make one. Thank you so much for sharing this beautiful project.
Tamara
August 25, 2016Hi Mila, the actual sac part of the bag measures 15″ x 8″ flat. Hope that helps!
Mila
August 25, 2016Yes, thanks. So, in order to get a larger bag one needs only to get a larger piece of fabric!
Tamara
September 2, 2016Yep! That should work.
Mila
September 5, 2016Thanks so much, Tamara. I wanted something like this for going to the market. I am sure if you use medium weight fabric it will be quite sturdy and will handle a lot.
Tamara
September 7, 2016Yes, I think so to. Would love to see if you make one. Feel free to share on FB or Instagram 🙂
Mila
September 7, 2016I don’t do FB nor Instagram… 🙁
Tamara
September 12, 2016Probably very smart of you. Happy sewing, none the less.
Nancy
September 27, 2016Something is wrong, I believe, with step 5a. I sewed the first seam for the french seam on the bottom corners, then sewed up the sides. This leaves me with seams on the right side/outside on the sides. The bags in your pictures don’t have this. I’m thinking I should turn it wrong side out to sew the side seams together, then turn it right side out to sew the first seam of the french seams on the corners, then on to step 6 to finish the french seam. The seam on the outside doesn’t look bad, the edges are finished as that is the folded side, but it looks funny. Am I the only one who followed the steps without catching that?
Tamara
September 27, 2016Hi Nancy, Thanks for pointing this out. I had sewn my prototype as I had initially explained, writing my instructions as I went, but then sewed the ones photographed in the post a bit differently & completely forgot to update my instructions. They haven been updated accordingly. Thanks for your attention to detail & Happy Sewing!