{ Happy Sewing } Embroidered Wallhanging
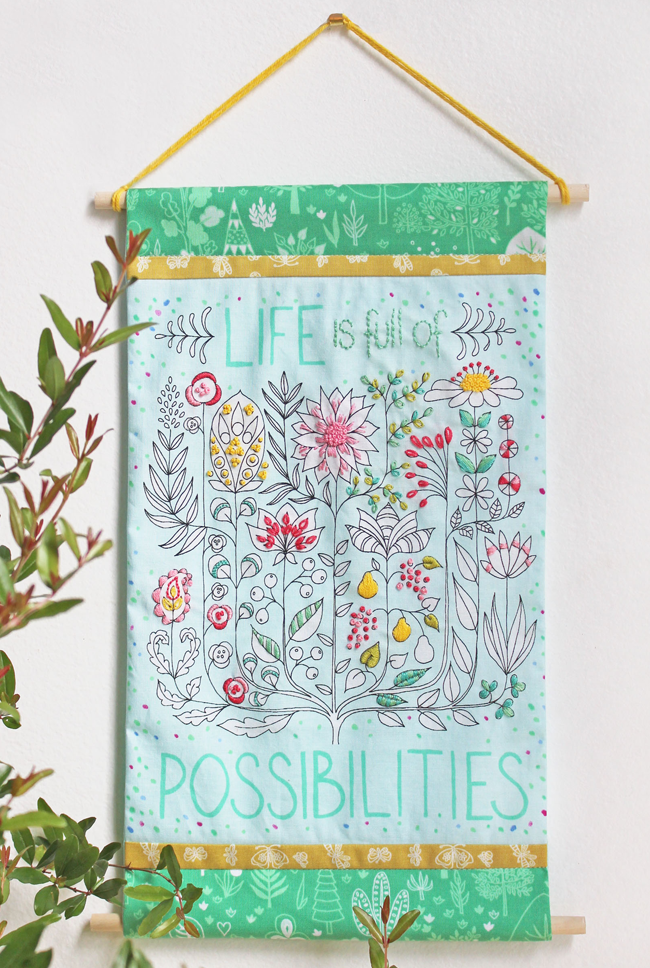
Here’s a tutorial for this sweet little wallhanging that you can fully personalize with embroidery.
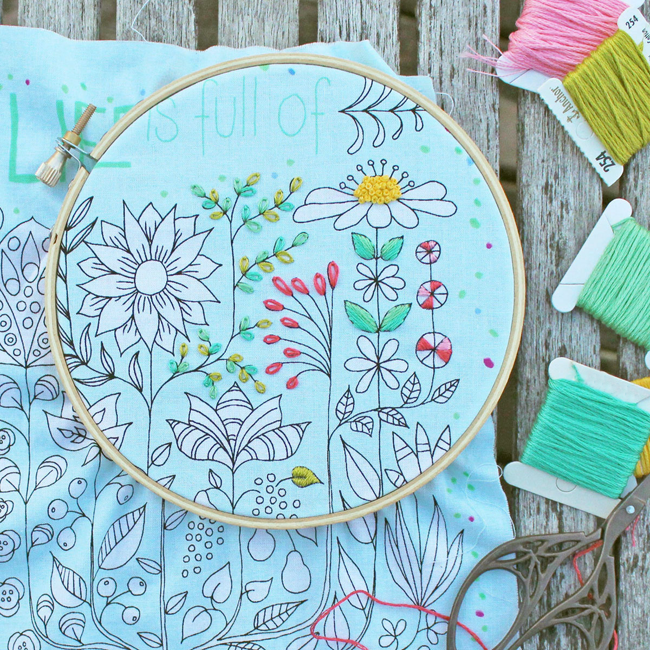
I love the quiet process of hand embroidery. I learned how as a child from my Mom and still enjoy it today, though I have narrowed down all those stitches I learned early on to a few favourites I use on high repeat now. This project focuses on 4 favourites: The French Knot, Satin Stitch, Back Stitch and Chain Stitch.
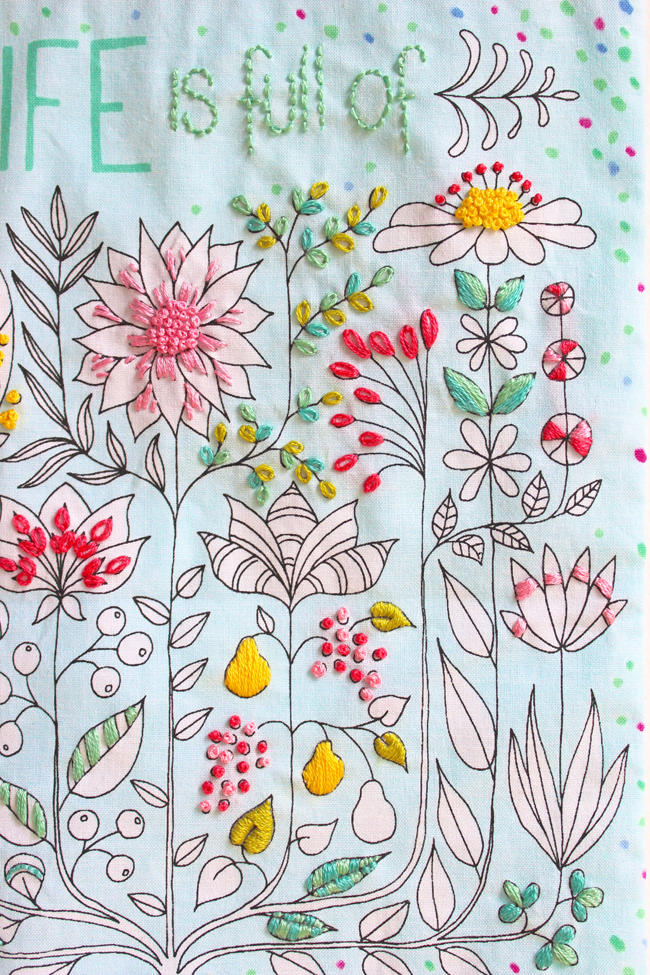
One of the main things I enjoy the most about hand embroidery is that one can be as detailed and colourful as desired. Using the Words of Wisdom panel print for this project is great in this respect as you could pick and choose which elements to fill in or outline, or you could go all-out and fill in every last detail. That’s the beauty. It’s all up to you to make it your own! I chose to leave a fair bit unstitched as I felt it gave a clean, modern feel to the finished work and leaves places for the eye to rest.
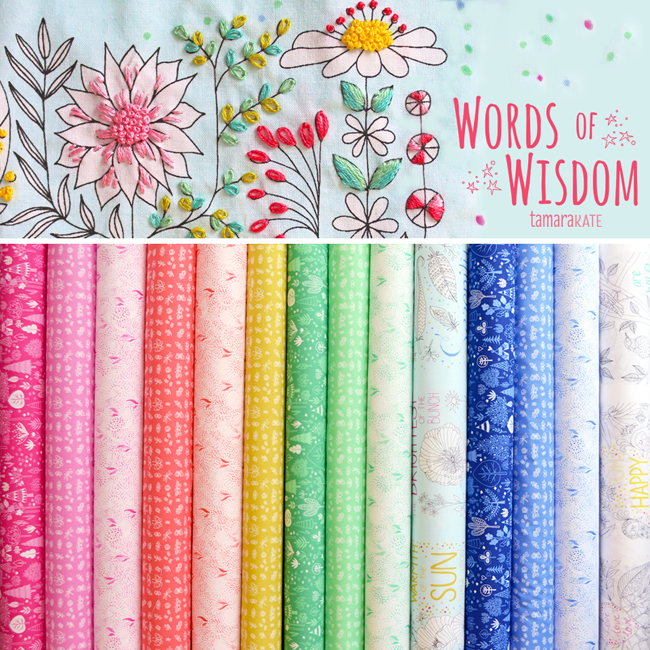
I opted to use the prints from the Words of Wisdom fabric collection as my colour jumping-off point. The blue was already the ground in the panel (the panel print comes with either a white ground or a soft-blue one), so I focused on corals, yellows, greens and pinks as my pallet.
THE TUTORIAL
What I Used:
– A saying of your choice from the Words of Wisdom Panel, cut to 8 1/2″ x 10 1/2″.
– Embroidery floss in your choice of colours (I used 6 colours of DMC embroidery floss)
– Embroidery needle
– Embroidery hoop (approx. 5″ – 6″ diameter)
– 2 coordinating fat eighths fabrics from the Words of Wisdom collection
– Backing fabric (8 1/2″ x 17″)
– Sewing thread
– 2 pieces wooden dowel (3/8″ diameter x 9″)
– A 24″ length of yarn for hanging
What I Did:
The first step is the most fun… the embroidery. Here are the 4 stitches I used:
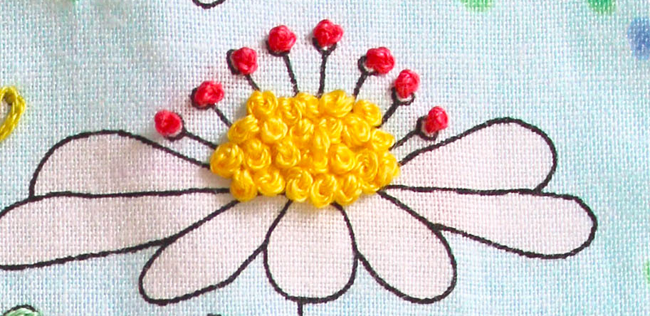
The French Knot: This can be used as individual small dots, or clustered for greater impact and to fill shapes.
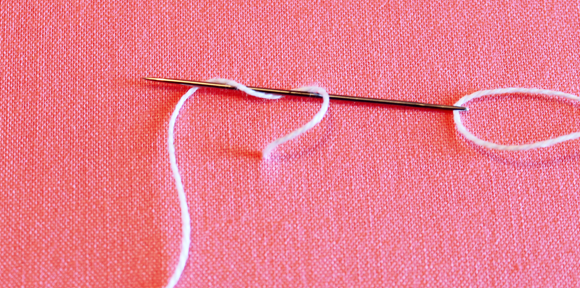
Knot end of thread & pull thread up through fabric. Close to needle, twist loose thread twice around needle.
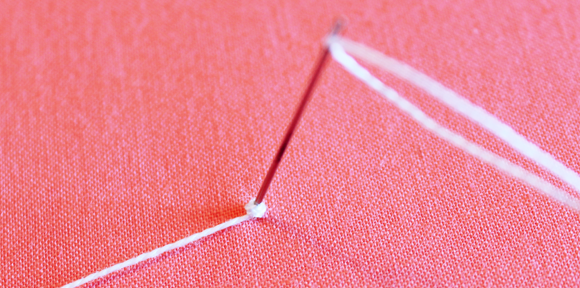
Put needle tip back through fabric at the same spot the needle came up. Pull thread taught around needle.
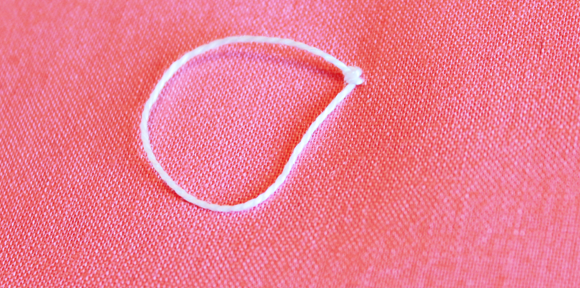
Carefully pull needle & thread through to the back of the fabric making sure to not upset the knot forming on top.
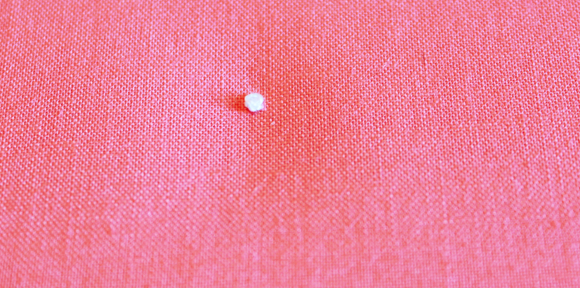
Pull thread taught at back. 1 french knot done!
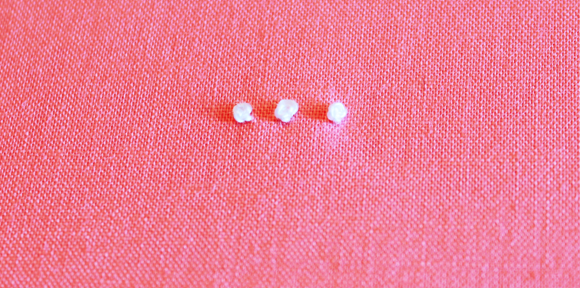
Pull the needle back through to front of fabric wherever you’d like to create more. When finished, knot thread at back of fabric & cut.
Satin Stitch: Used to fill in a shape with uniform stitches that sit side by side, giving a smooth, satiny look and feel.
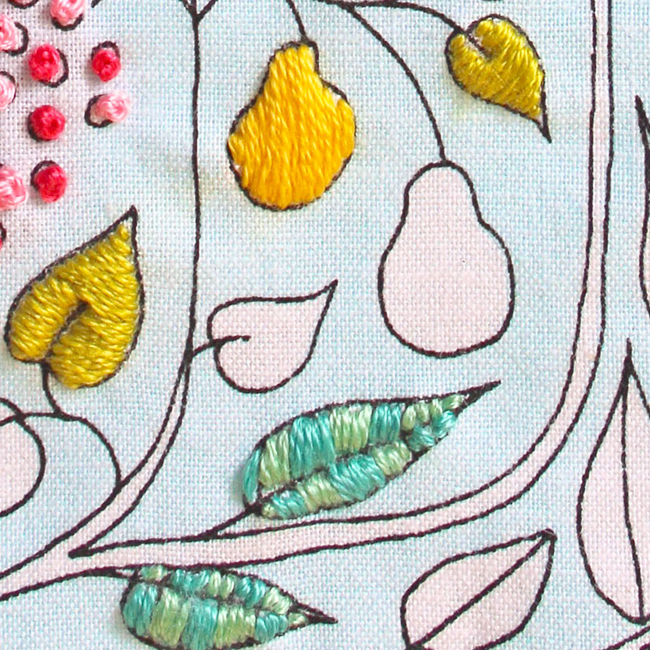
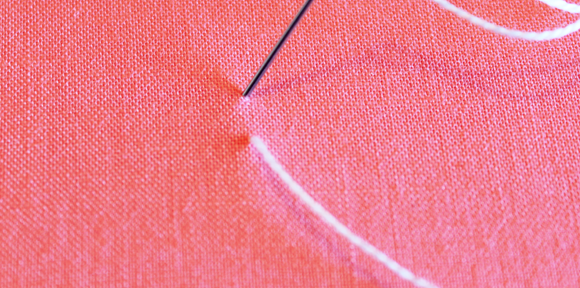
Knot end of thread & pull thread up through fabric. Insert needle point at the opposite side of the shape you are filling in (HINT: do not make stitches too long. Stitches much longer than 1/4″ can easily get caught on things & cause your fabric to buckle). Pull the thread through to the back (not too tightly).
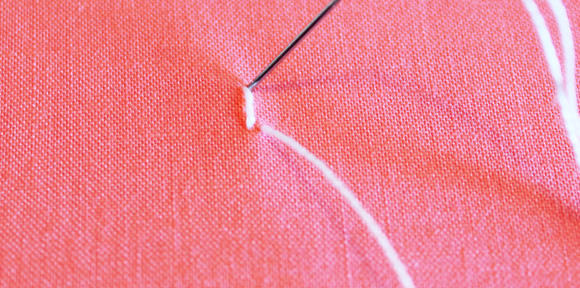
Pull needle back up through fabric to the front, right beside where you started your 1st stitch. Stitch back to the back of fabric, following the contour of your shape.
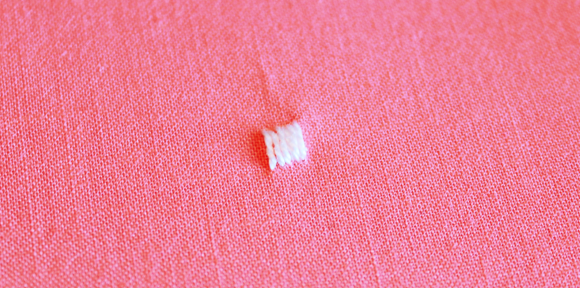
Continue in this fashion, keeping stitches snug against each other and carefully following the outline of the shape you are filling. When finished, knot thread at back of fabric & cut.
Back Stitch: For creating straight or curved lines of stitching. Can also be used to trace fine lettering or outline shapes.
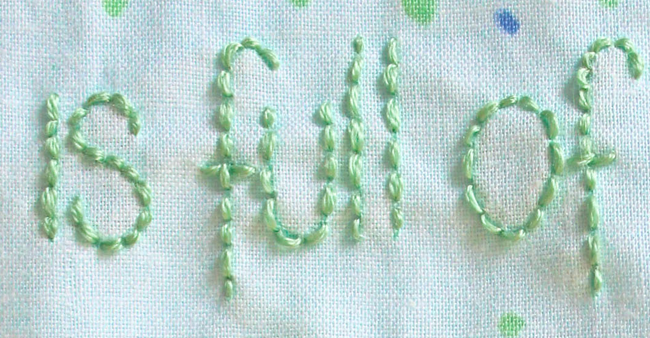
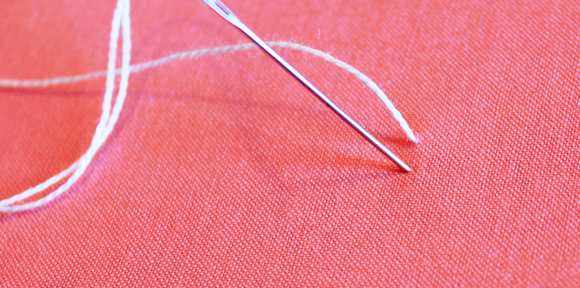
Knot end of thread & pull thread up through fabric. Insert needle point back through fabric about an eighth inch along the line you are creating.
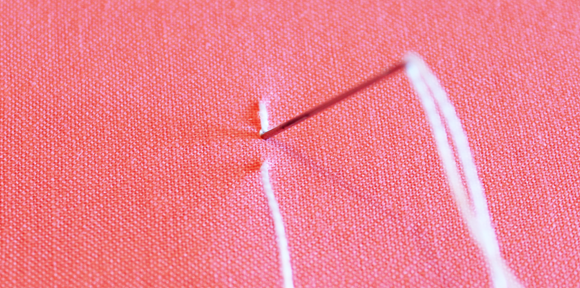
Pull thread through to back and bring needle back up through fabric another eighth inch along the line. Insert needle point back through fabric at the point the last stitch ended (in essence, going backward).
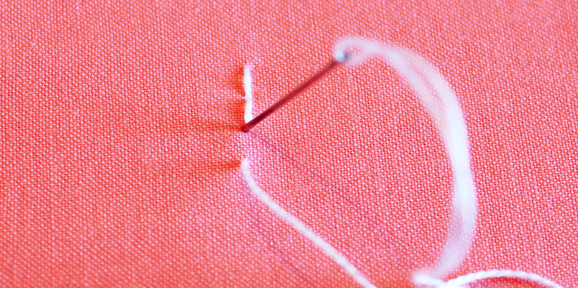
Repeat the last step, again starting an eighth inch along the line and going back down through fabric at the point the last stitch ended.
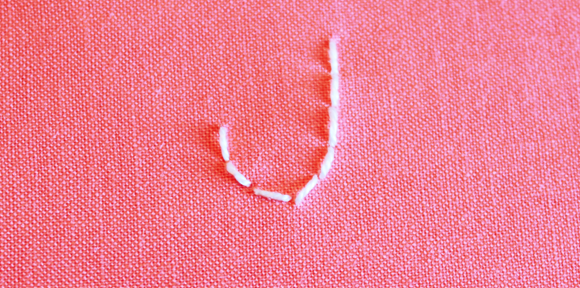
Continue in this fashion to finish line. When finished, knot thread at back of fabric & cut.
Chain Stitch: Creates a wider, open line of stitching, or can be used to create individual leaves or petals.
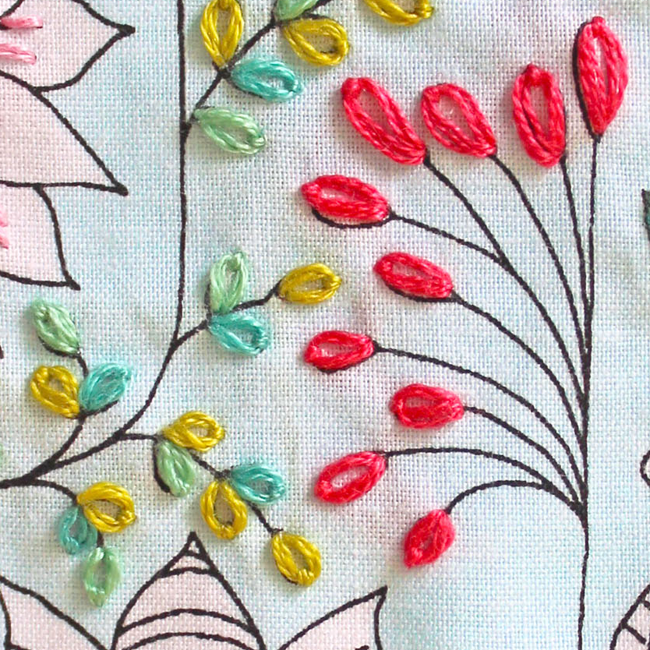
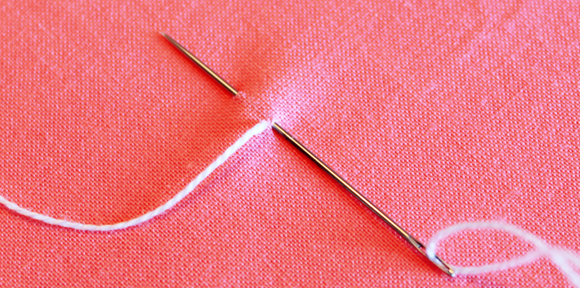
Knot end of thread & pull thread up through fabric. Insert needle point back through fabric right beside where it came up, then re-insert point back through to top of fabric about an eighth inch away.
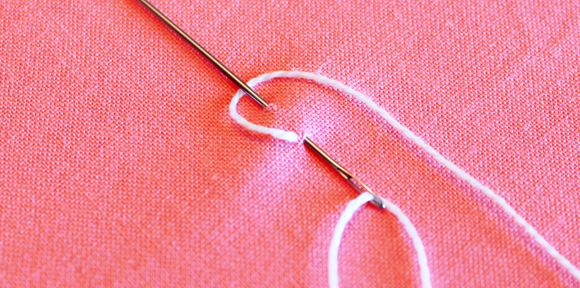
While the needle is in this position, make sure the loose thread runs underneath the needle.
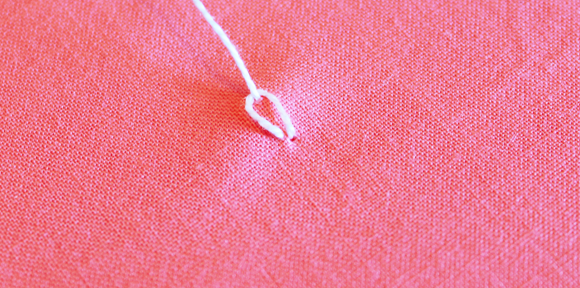
Pull the needle and thread through (not too tightly), creating a loop. If creating a single chain (like for a small leaf) skip the next step.
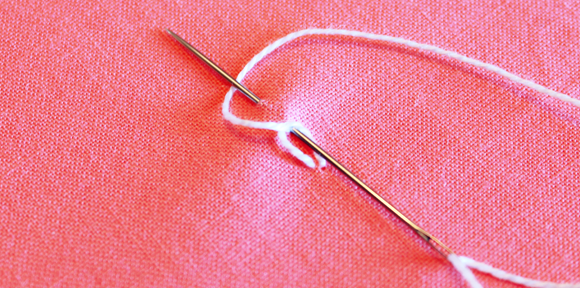
Repeat this process, first inserting the needle point through to back right beside where the thread emerges from the fabric, then bringing the needle point back up to the front of the fabric about an eighth inch along the line you are creating, running loose thread under needle tip. Continue in this fashion along the line you are creating.
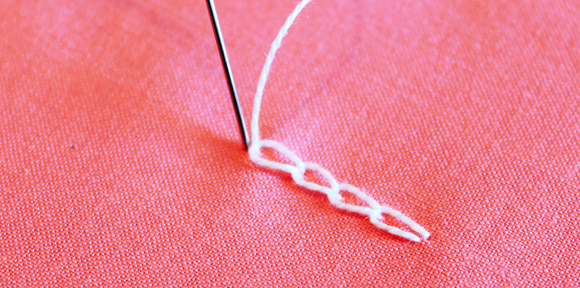
To end your chain, put your needle through to the back immediately on the other side of the loop created, just beyond where the thread comes up.
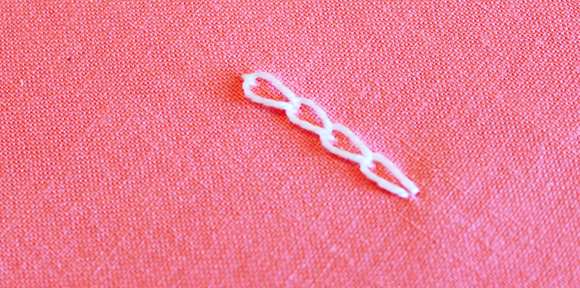
Pull the thread through to the back, securing the last chain in place. When finished, knot thread at back of fabric & cut.
Assembling the Wallhanging:
Refer to this diagram for the following instructions:
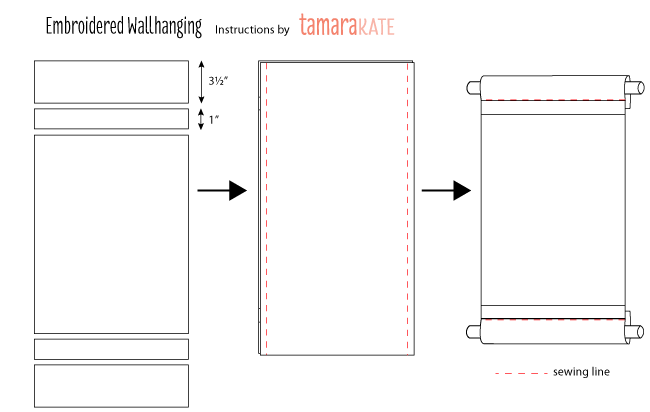
– Cut one of the coordinating fabrics to 2 pieces (1″ x 10 1/2″)
– Cut the other piece to 2 pieces (3 1/2″ x 10 1/2″)
– With 1/4″ seams and right sides together, sew together the pieces in the following order to make one long 10 1/2″ wide piece: One piece 3 1/2″ x 10 1/2″, one piece 1″ x 10 1/2″, the embroidered panel, the 2nd 1″ x 10 1/2″ piece, the 2nd 3 1/2″ x 10 1/2″ piece. Press seams toward the narrowest pieces.
– Right sides together, sew assembled piece to backing fabric along 2 long sides.
– Turn right-side-out. Press.
– Fold top and bottom ends under to the back 1 3/4″. Pin in place. From the front, topstitch in the ditch between the 1 1/2″ strip of fabric and the 3 1/2″ of fabric on both ends, thus securing the ends and creating a channel on both ends.
– Insert dowel in both ends.
– Double the yarn and attach to both ends of the top dowel to hang.
All done!
