The Radiant Maple Wall Hanging
Today I have one final tutorial for you to round out the Canada 150 celebrations in conjunction with Janome Canada.
As I’ve mentioned here before, in celebrating Canada’s big birthday this year, Janome Canada and I teamed up to offer sewists a series of fabulous products and projects. Here’s a quick recap…
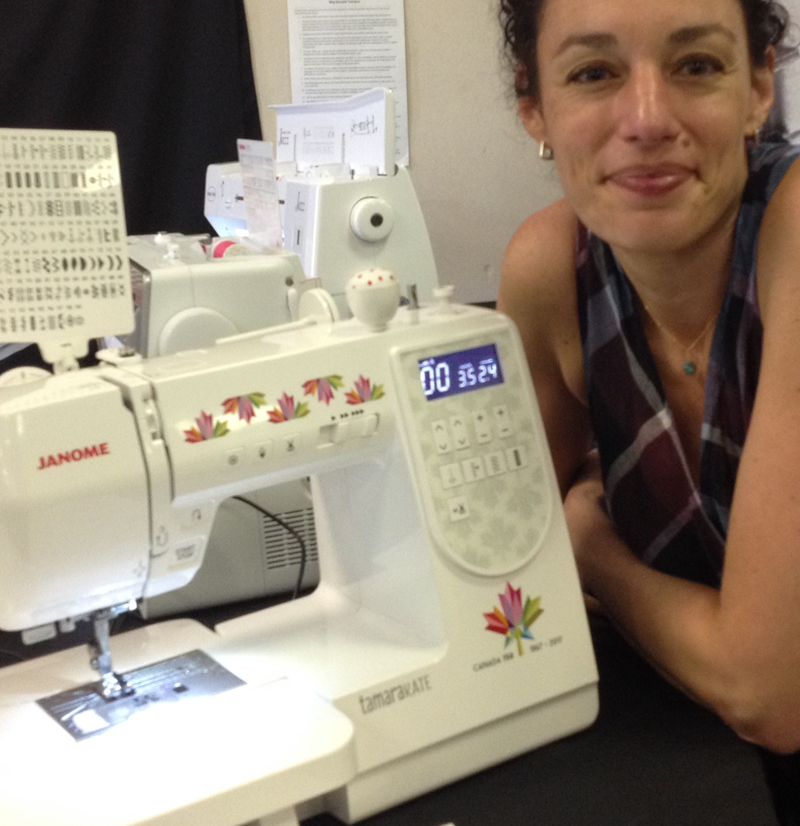
1. I designed the logo for the Canada 150 Limited Edition Sewing Machine. {Snap yours up through your local Janome Canada dealer quickly before they’re all gone).
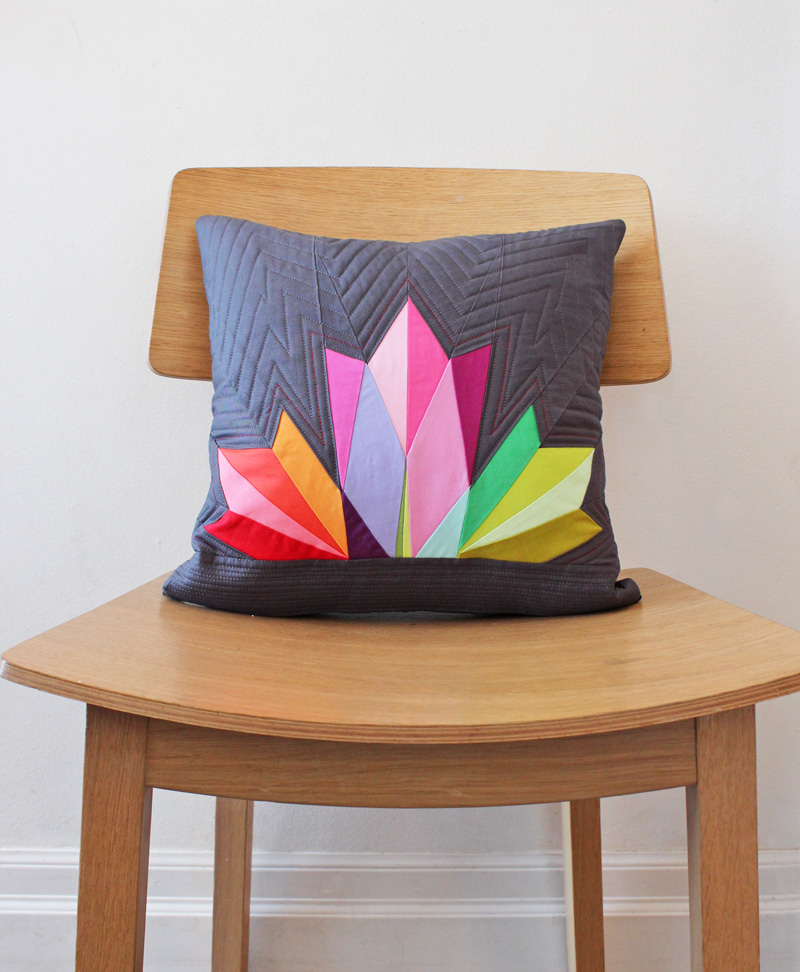
2. My Oh Canada! paper pieced cushion project was released. Pattern & instructions are available here.
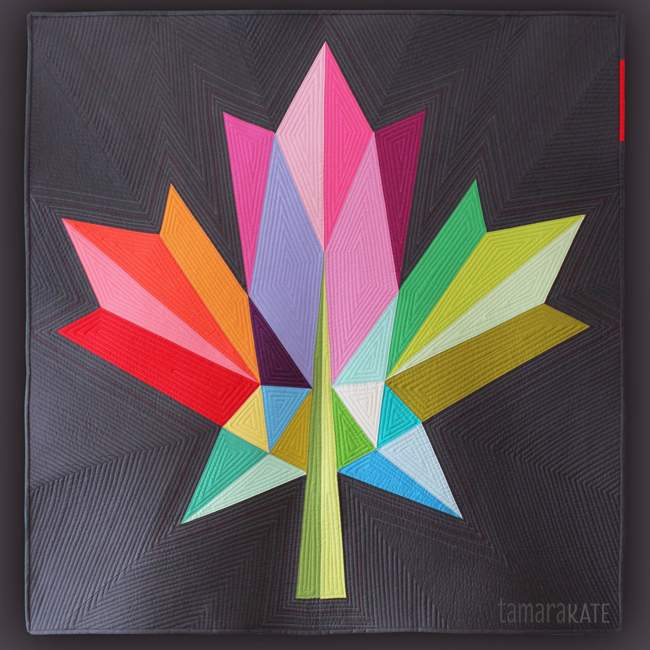
3. The show-stopper Oh Canada! quilt toured a few Canadian quilt and sewing shows with the JC crew. The pattern & instructions are available here.
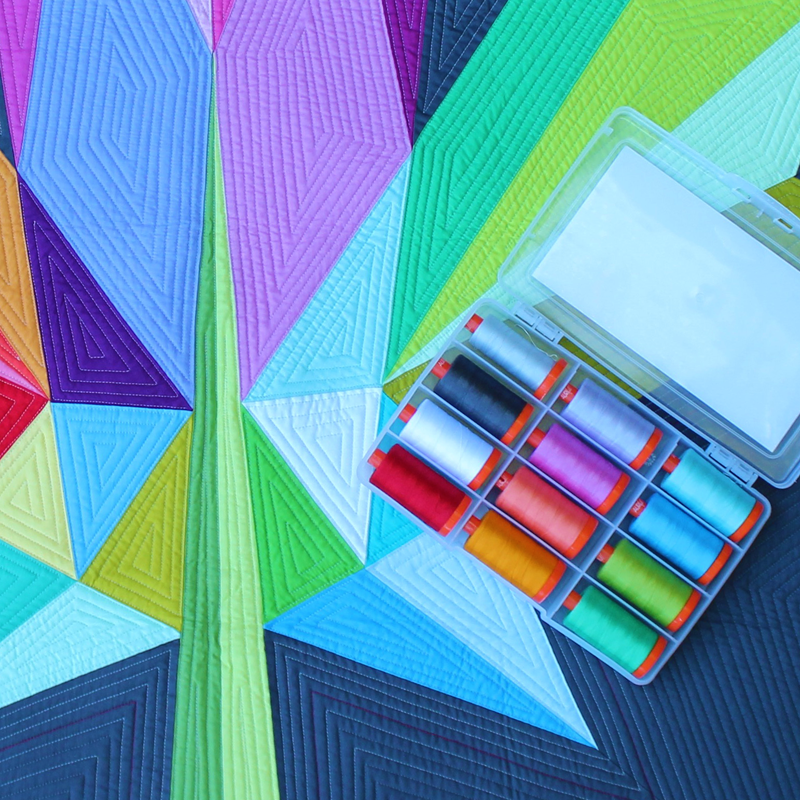
4. Inspired by the afore-mentioned quilt, I worked with Aurifil to put together an exclusive thread kit that is available through Janome Canada dealers.
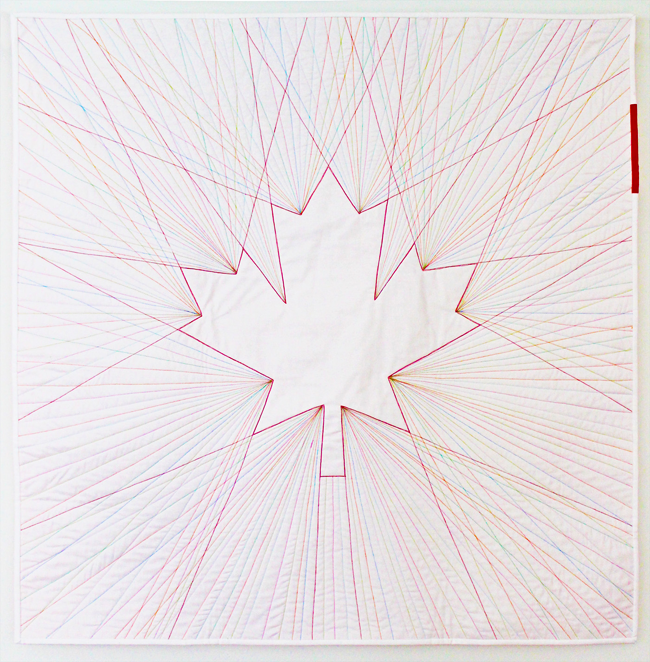
Which brings us to No. 5, the Radiant Maple wall hanging!
A more subtle take on highlighting the maple leaf, this quilt is all about the thread. If you don’t feel up to piecing a quilt top, what about embracing the simplicity of white fabric (though it would be equally stunning and more dramatic on a charcoal grey ground, for example) and pulling out a rainbow of thread colours to execute this project. All it takes is a couple hours at the machine, then a bit of binding and you are done.
THE TUTORIAL
What I Used:
– 2 pieces white cotton 38″ x 38″
– batting 38″ x 38″
– 10″ x width of fabric (WOF) binding fabric
– a rainbow of thread colours. I used the 9 non-neutral colours from the Canada 150 Aurifil thread kit (red, orange, apricot, lime, jade, turquoise, blue, lilac & pink)
– A hera marker and a long acrylic ruler
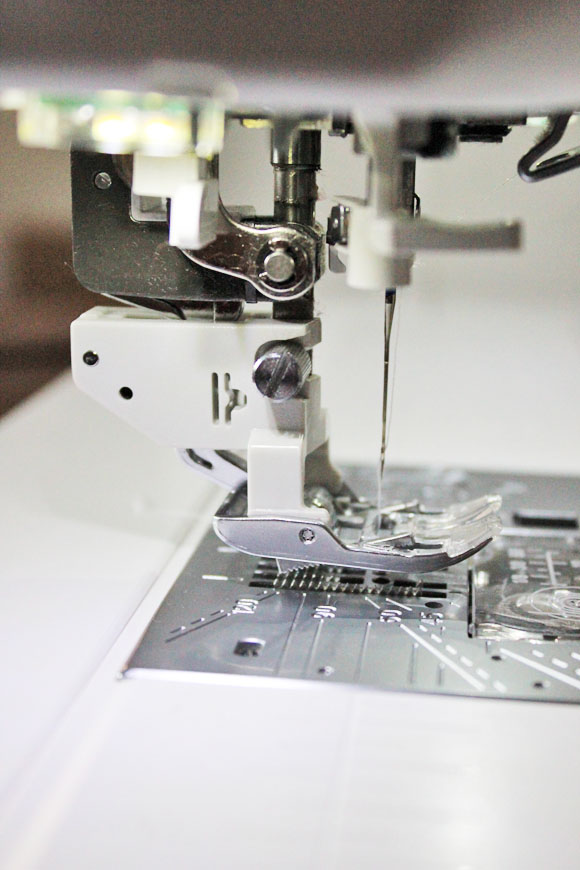
– the Accu-Feed Dual Feed foot (walking foot). This will keep all your fabric layers in place when sewing, making for an easy and enjoyable project.
What I Did:
– Press both squares of fabric and make a quilt sandwich (fabric, batting, fabric), pinning at regular intervals to keep layers from shifting.
– Mark the centre of the quilt top with a pin.
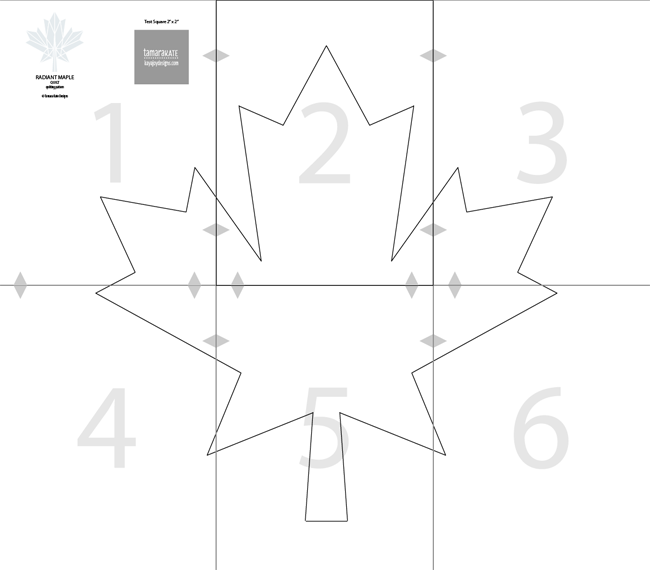
– Print & prepare the above pdf pattern following these instructions:
– Page size is 8.5″ x 11″
– Select File, then Print
– Set Page Scaling to “None” (do not select “Shrink to Fit”)
– Press Print
– The 6 pages need to be cut (remove the 1/4″ frame around all pages) and taped together matching the grey triangles along the edges as in the following graphic. Cut out the maple leaf & discard the exterior paper.
– Mark the centre of the maple leaf and position this mark directly over the centre mark on the quilt sandwich, keeping the leaf straight in relation to the fabric edges.
– Using the hera marker, mark the fabric along the edges of the maple leaf by pressing the marker’s sharper edge into the fabric to reproduce the leaf shape.
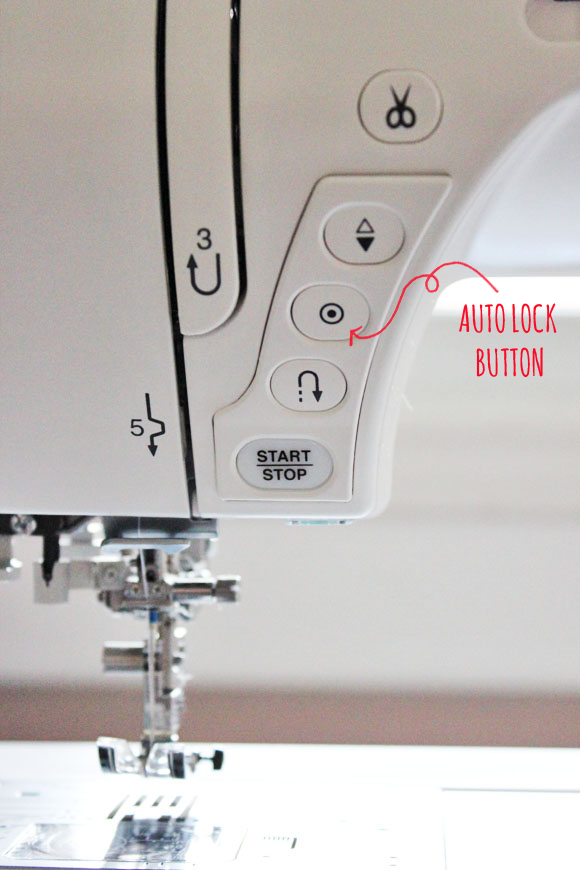
– Using red thread and the walking foot, stitch all the way around the leaf. I started and ended the contour using the Auto Lock option which makes 3 or 4 stitches in one spot, creating a tiny “knot” on the back rather than having to bury bury threads later. Keep the needle down, raise the presser foot and pivot the fabric at each corner.
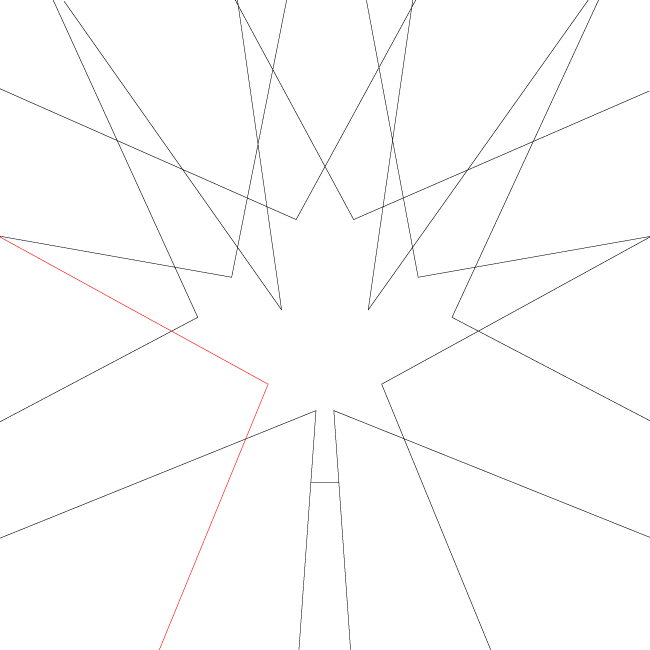
– Use the acrylic ruler to extend all the angled border lines of the leaf out to the edges of the fabric, marking each with the hera marker.
– As in the above diagram, using red thread, start at the fabric edge and stitch a line all the way to where it pivots, stitching along the previous stitching lines along the leaf, then pivot out to the fabric edge again. We will call these V-lines. Continue doing this for all the V-lines extended to the fabric edges around the quilt, always starting & stopping at the fabric edges.
You now have a double line of red stitching all the way around the leaf to accentuate it and red lines radiating out to the edges of the quilt.
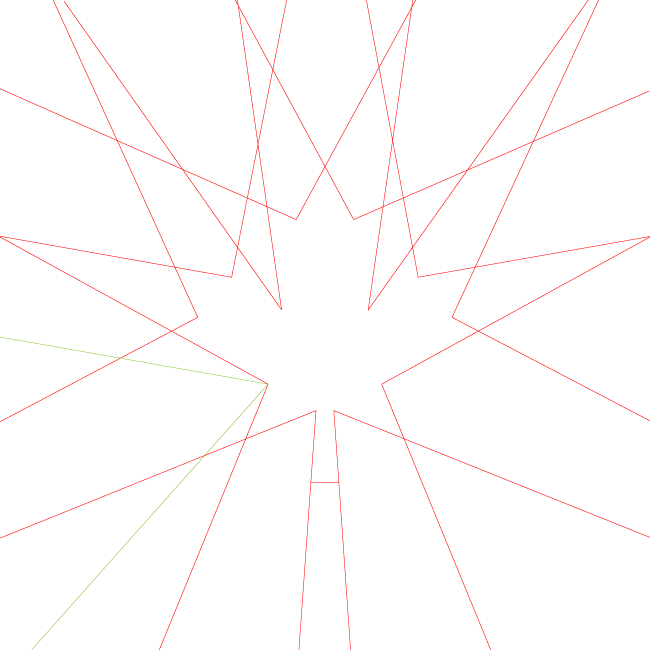
– Again using the ruler and hera marker, mark V-lines at random intervals within each previously-sewn V-lines, as in green below. Where the red Vs are wider, you may want to do 2 new sets of V-lines, but only one set where the V is narrow.
– Choose another thread colour and stitch along these lines, again starting and stopping along the fabric edges. Continue working in this fashion, changing thread colour after you have created new V-lines within all the red Vs.
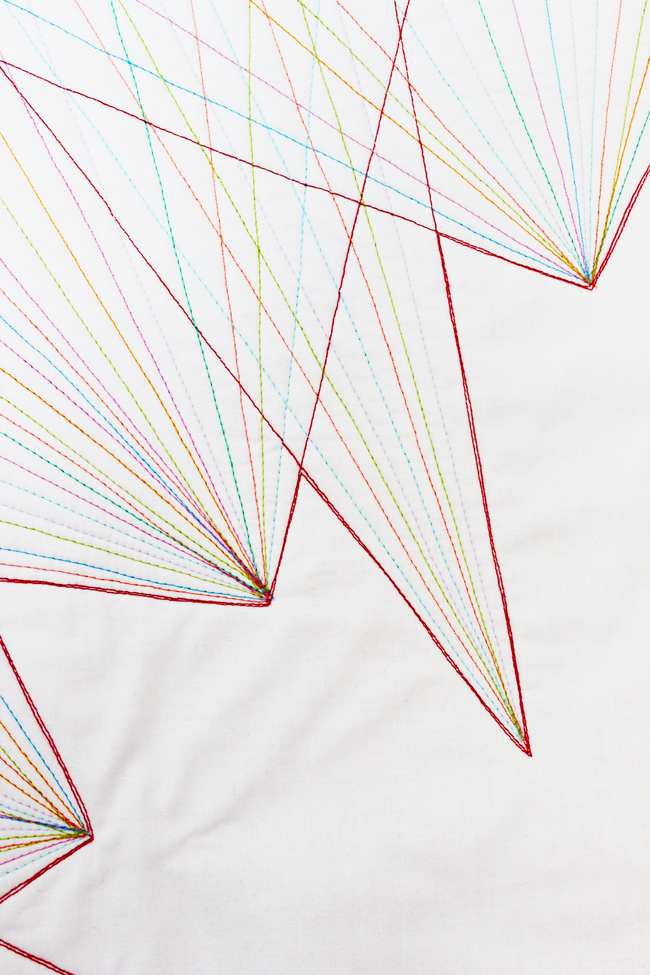
– You can see above that I didn’t use every thread colour within every red V and that the new colours of V-lines all converge at the same spot within each red V.
– When you have used all your thread colours and are satisfied with the density of the stitching, square up the quilt top.
– Cut the binding fabric into 4 strips, 2 1/4″ x WOF. Stitch together binding strips and bind the quilt sandwich.
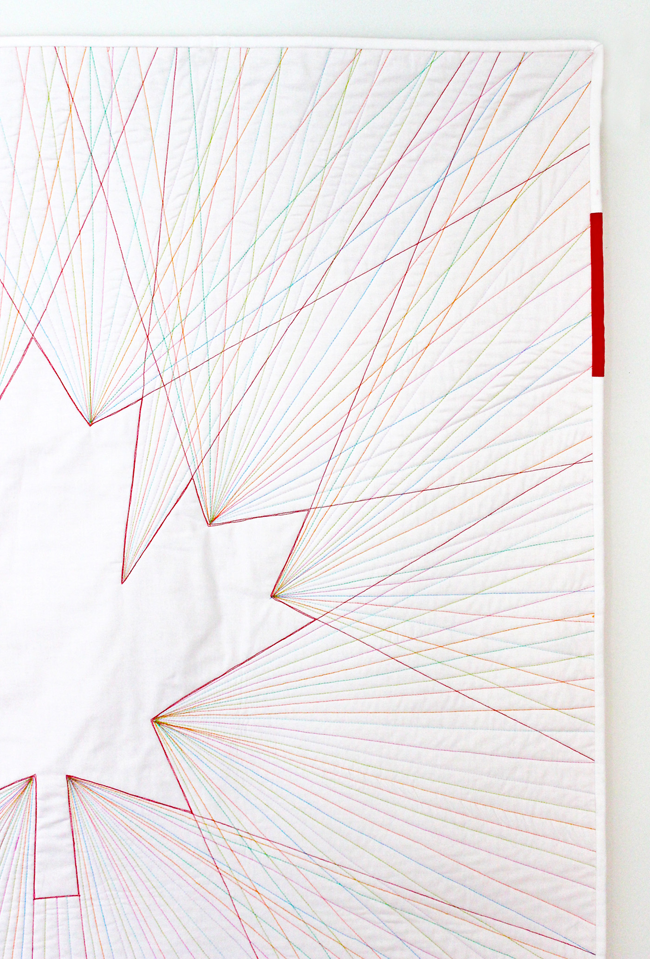
Project finished!



2 Comments
Judi Caldwell
December 1, 2017Nice job… I love the subtlety of your work here jc
Tamara
December 1, 2017So glad you like it, Judi! Though I knew it would be subtle, it was a bit of a surprise just how subtle it ended up when finished. I had thought the thread colours would make it a bit more pronounced, but am thrilled with the result.